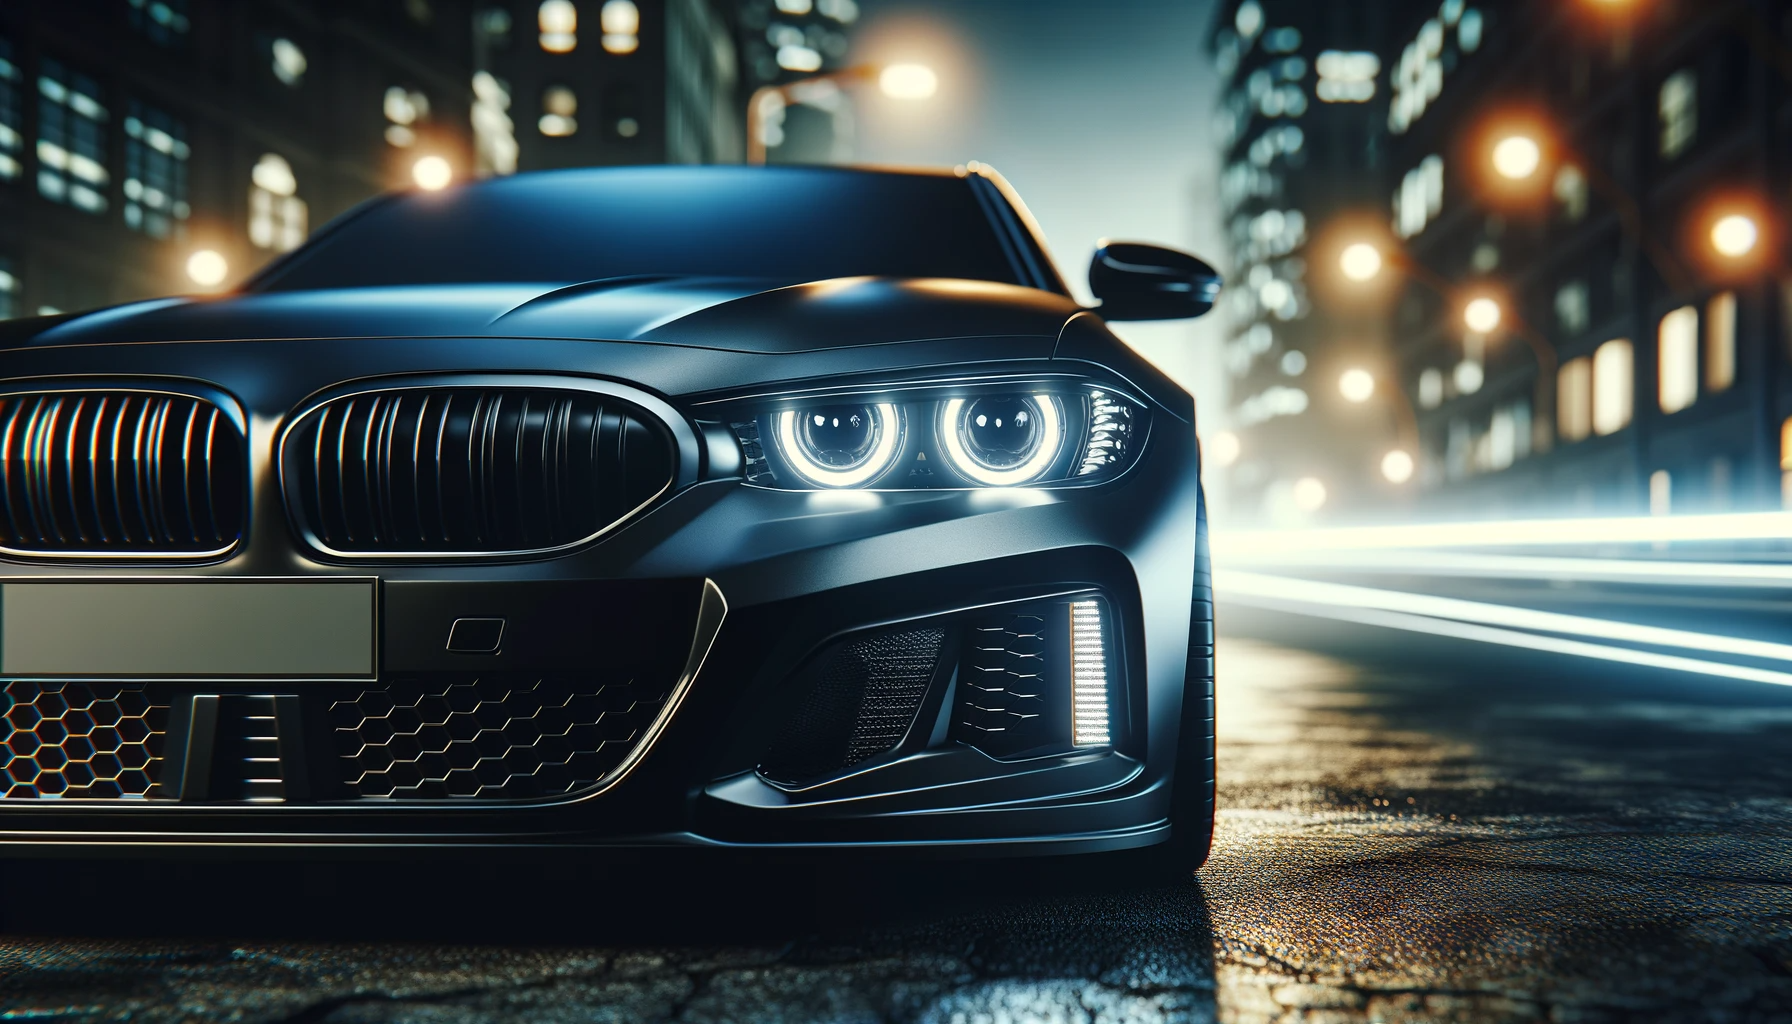
As a car enthusiast, I’ve always been fascinated by the subtle yet bold touches that can transform a vehicle’s look. Among these, blacked out headlights have surged in popularity, offering not just an attractive and stand out appearance but also functional purpose.
This customization involves tinting the headlight lens to a black hue, which not only enhances the car’s look but also matches the whole housing of the light, creating a cohesive and sleek design. While some might associate this trend with expensive cars, the reality is that blackout headlights are an easy, cheap, and popular upgrade that car owners of any model or year can enjoy.
During my years of driving, both night and day, I’ve appreciated how car headlights serve as essential accessories to illuminate the road ahead. Yet, beyond this, young car owners are keen to paint and improve their cars’ aesthetics, often opting for a contrasting color that matches their vehicles. This not only gives a great look but also provides safety benefits, protecting the headlight cover from scratches and damage.
In this article, we discuss everything you need to know about blacked out headlights, a modification that has become more and more popular recently for its attractive look and functional purpose.
Table of Contents
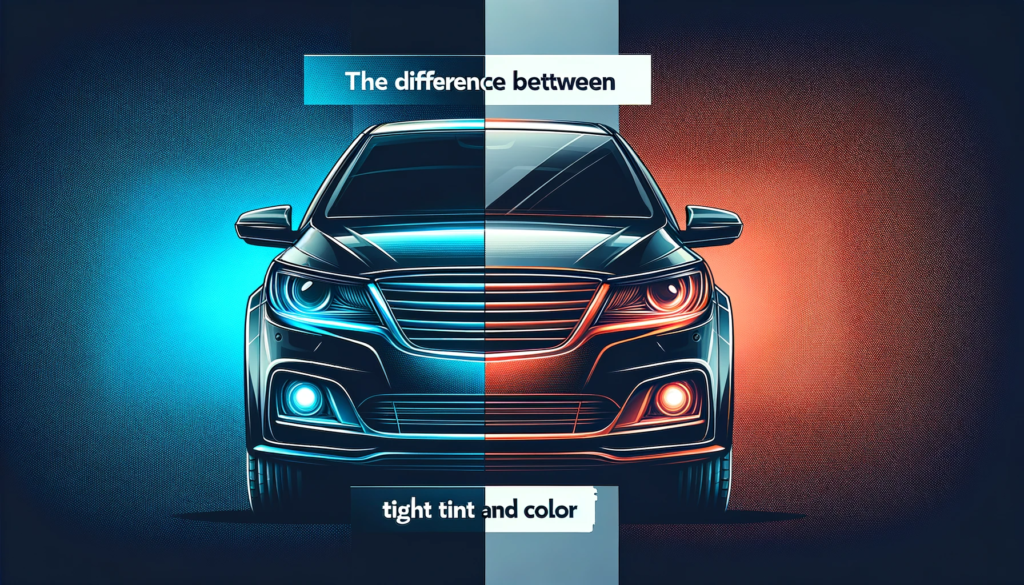
The Difference Between Headlight Tint And Color
Understanding Headlight Tint
In the world of car customization, tinting headlights has become a popular choice for those looking to enhance their vehicle’s aesthetic. Tint refers to the application of a colored film on the headlight lens, which doesn’t inherently alter the color of the light emitted.
The key here is the darkness of the tint and its effect on the VLT rating (Visible Light Transmission). This rating is crucial as it determines how much light is allowed to pass through the tinted lens. States have specific laws about headlight visibility, often requiring that headlights be turned on during the day if visibility drops below 500 ft or 1,000 ft.
This is to ensure that drivers can see better and avoid collisions. It’s important to abide by the rules and ensure that the tinting material used is approved for headlights and is applied in a way that does not obscure or limit the light emitted from the headlamps.
The Role of Headlight Color
When it comes to the color of headlights, the conversation shifts from aesthetic preferences to legal considerations. In the US, colored headlights are typically illegal, with the norm being a clear or white light. However, you might find that lightly tinted headlights are allowed in some states.
The color of the light emitted by the headlights is a safety feature, ensuring that the vehicle is visible to other drivers and helps in navigating the road. The color should not be so dark that it obscures the normal color of the headlamps. This is where the distinction between tinting and coloring becomes clear.
While tinting might be permissible within certain limits, changing the color of headlights can have legal ramifications, as it might reduce visibility and alter the vehicle’s compliance with safety regulations.
In summary, while you can tint your headlights black, staying within legal boundaries is crucial. Always check your state’s regulations regarding headlight tint and color to ensure that your modifications are both safe and legal.

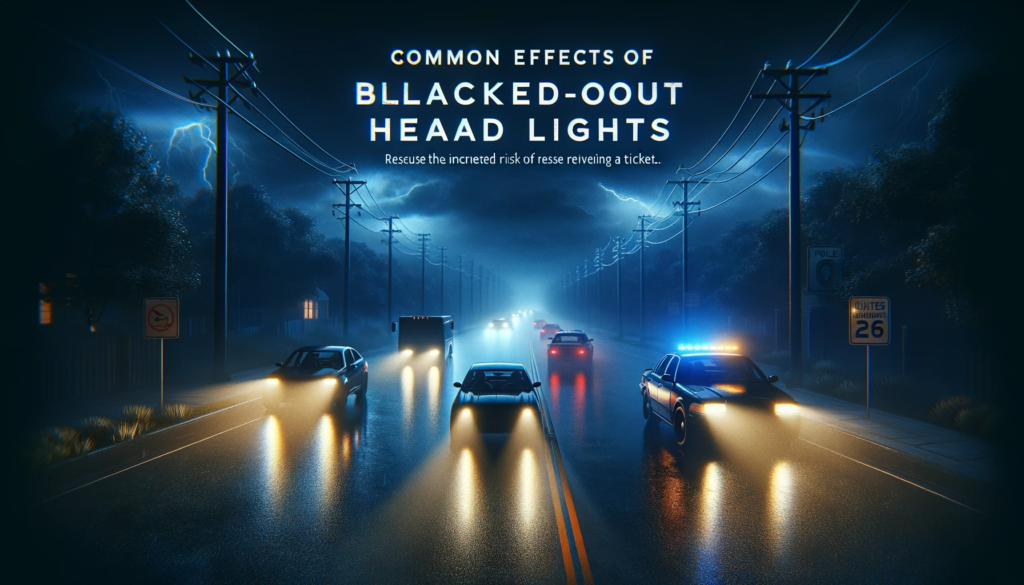
Common effects of blacked out headlights
Opting for blacked out headlights might give your vehicle that popular and sleek look, but it’s crucial to be aware of the regulations surrounding this modification. In many states, these alterations are not allowed if they reduce the light output from your headlight, making it unsafe for driving.
It’s not just about aesthetics; it’s about ensuring that your vehicle meets safety standards and doesn’t endanger you or other road users. Understanding the five common effects of blacked out headlights is essential for any car owner who values both style and safety. Before you decide to tint your headlights, make sure you need to know the legal and practical implications of this choice to avoid any unwelcome surprises down the road.
1. Reduced Visibility at Night
While blacked out headlights may elevate the aesthetic appeal of your vehicle, they come with a significant downside: reduced visibility at night. The bottom line is that any headlight tints will inevitably lower the light output, making it harder to see when darkness falls.
The degree of this reduction in light output is directly proportional to the darkness of the material applied. It’s a simple equation: the darker the tint, the more pronounced the decrease in visibility.
This means that the level of light output reduction isn’t just a matter of choice but is influenced by the type of tint used and other factors. As you weigh the pros and cons of this stylish modification, remember that safety should always be your guiding light.
2. Reduced Visibility in Inclement Weather
Opting for blacked out headlights might add a sleek aesthetic to your vehicle, but it’s vital to consider the impact on visibility during inclement weather. Conditions like rain, fog, or snow can already impair your vision, and adding blacked out headlights can further reduce visibility.
The weather conditions affect how light interacts with your surroundings. For instance, heavy rainfall causes droplets to hit your windshield at high speeds, creating a dazzle effect as they bounce back. Similarly, smoked tint on headlights can mimic the effect of dark sunglasses, stopping some part of the light emitted by the bulb, making it less bright for your eyes.
Moreover, light interference from passing traffic may necessitate the use of dark glasses during certain times, so it’s wise to keep those shades handy. Hence, while the allure of blacked out headlights is undeniable, ensuring safety in bad weather conditions must take precedence.
3. Reduced Performance – A Critical Assessment
While the trend of blacked out headlights adds a sleek, mysterious edge to vehicles, it’s crucial to address the reduced performance they bring to your night-time driving experience. The allure of this modification might be undeniable, but the reduced light output can significantly impair not just your visibility, but also how easily other drivers can see you.
This is not just a matter of aesthetics but of safety, as the darker tints make it harder for your vehicle to be spotted on the road, especially in areas devoid of street lighting or during harsh weather conditions.
As someone passionate about cars and their functionality, I can’t stress enough the importance of balancing style and safety. If you’re considering blacked out headlights, it’s essential to understand the potential compromise on visibility.
Ensuring that your vehicle remains visible to other drivers is paramount, and any modifications should never overshadow the primary purpose of headlights – to light up the road ahead and make your presence known to others. Therefore, before making this stylistic choice, it’s wise to consider the implications of reduced light output on your driving performance and overall road safety.
4. Reduced Safety on the Road
Adopting the trend of blacked out headlights might be appealing for those looking to add a touch of style to their vehicle, but it’s paramount to consider the reduced safety aspect that comes with it. The aesthetic gains should not overshadow the fundamental purpose of headlights, which is ensuring visibility on the road.
When headlights are tinted too dark, it becomes increasingly difficult to see and react to potential obstacles on the road ahead. This limitation not only endangers the driver but also poses a significant risk to other road users, as the ability to anticipate and avoid hazards is compromised.
As an advocate for road safety, I urge vehicle owners to weigh the pros and cons carefully. The desire for a sleek car appearance should not take precedence over the safety of oneself and others.
Blacked out headlights may give your car that desired stealth look, but if they impair your ability to see and be seen, it’s worth reconsidering this modification. It’s always better to err on the side of caution and ensure that your vehicle’s features contribute positively to your driving experience, particularly in terms of safety and visibility.
5. Increased Risk of a Ticket
The edgy appeal of blacked out headlights might seem like a quick way to elevate your car’s look, but it’s crucial to be mindful of the increased risk of receiving a ticket. Before you make any modifications, thorough research of your state’s laws regarding blacked out headlights is imperative.
Many regions deem them illegal, primarily due to the safety hazard they pose, as they completely block the lights. Ignoring these regulations can lead not just to being subject to a ticket but also to more severe legal consequences if the law is violated.
While the cool factor of blacked out headlights is undeniable, it’s essential to weigh this against the potential repercussions.
Remember, the sleekness of your blacked out headlights won’t matter if it leads to an accident. Ensuring your vehicle is compliant with legal standards and safe for the road is paramount, and it significantly outweighs the aesthetic benefits of any modification, especially when it puts you at risk of a crash or legal issues.

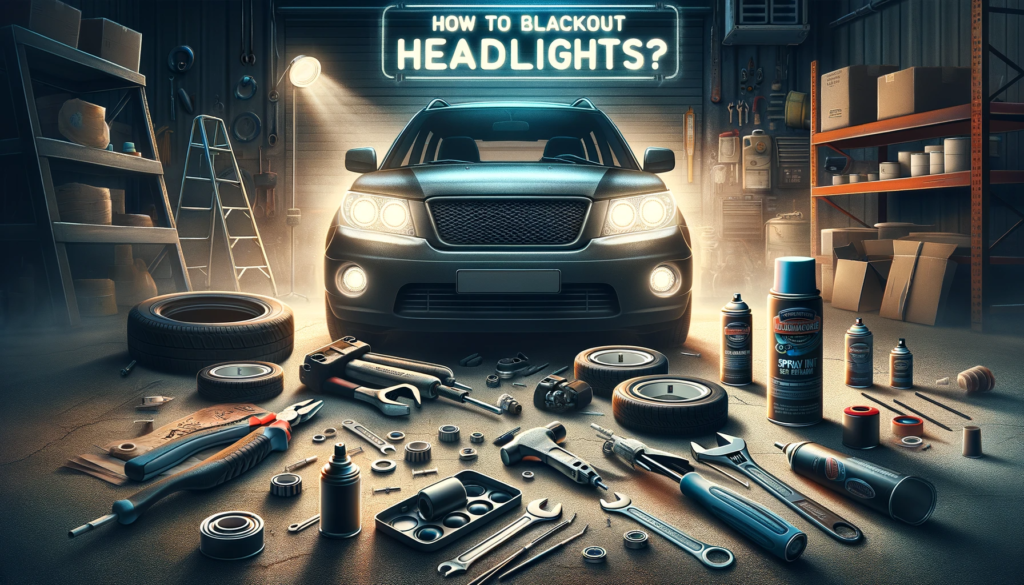
How to Blackout Headlights?
While the process of tinting your headlights might initially seem like a simple job, many find themselves intimidated by the task once they get started. Achieving that perfect blackout headlights look requires not just basic knowledge of mechanics and materials but also a steady hand and patience.
You’ll need specialized tools such as hairdryers and heat guns to mold the tint film precisely to the contours of your headlights. However, with the light of proper guidance and the right technique, you can indeed manage to perform this transformation successfully.
It’s about taking the time to understand the process, having the right tools at hand, and not rushing through the steps to ensure a sleek and professional finish.

Tools Required
Embarking on the project of blacking out your headlights can transform the aesthetics of your car, making it a rewarding, albeit frustrating, endeavor without the right tools and materials.
A comprehensive blackout kit is essential, serving as the cornerstone of this function. In my experience, the satisfaction of seeing your headlights morph from ordinary to sleek is unparalleled, but it’s crucial to approach this with patience and precision.
Before getting started, ensure you gather all equipment needed to open the headlight. The process, I’ve found, is not as daunting as it seems if you follow a step-by-step guideline meticulously.
Remember, working on your car demands attention to detail and a steady hand, especially when applying the paint with a spray gun or using tools like a heat gun and sandpaper to prepare the surface. The transformation from a standard to a blacked out headlight not only enhances the vehicle’s look but also reflects your dedication and skill.
Tools and Materials:
- Blackout kit
- Tools for opening the headlight (e.g., screwdriver, spanner)
- Step-by-step guidelines for the procedure
- Paint and spray gun
- Heat gun
- Sandpaper
- Other essential equipment and materials for the task at hand
Here is the complete guideline how to do blacked out headlights.
Let’s go,
1. Bumper Removal Essentials
The journey to achieving blacked out headlights often begins with the meticulous task of removing the bumper. It’s a process intricately designed to safeguard your car’s aesthetics while ensuring functionality. In my hands-on experience, the key is to approach this stage with precision and patience.
First, I hold the wrench firmly, using it to loosen and unbolt the bolts that hold the bumper in place. This part can be tricky; bumpers are not just cosmetic but are designed to protect and hold the headlights securely. Ensuring each bolt is carefully removed prevents any accidental damage.
After all the bolts are loosened, gently pull the bumper apart from the body. It’s a methodical dance of disassembly, revealing the path to seamlessly taking off the headlights and preventing any hindrance to your customization project.
2. Headlight Detachment Process
After the bumper has been carefully pulled off, the next pivotal step in achieving those sleek blacked out headlights is the removal of the headlight itself. This task requires precision and a steady hand.
Holding my trusty screwdriver, I carefully remove each screw that connects the headlight to the car, ensuring not to miss any, as they are crucial in holding the unit in place. The headlight isn’t just physically attached; it’s also part of the vehicle’s intricate electrical system. Each light has wires that need meticulous handling.
The connector plays a crucial role here, swiftly linking the lights to the system, allowing for a quick disconnection. Gently, I unplug this connector, ensuring the wires are safely detached, and then, with a sense of accomplishment, I finally remove the light, paving the way for the transformation into a more aesthetically appealing car.
3. Housing Removal Mastery
Navigating through the challenging task of removing the housing of the headlight is akin to a delicate dance. This transparent case, crucial in enclosing the light lenses, is firmly attached to the headlight, often making enthusiasts balk at the prospect.
Yet, with the right technique, it’s a feat that can be achieved gracefully. My tool of choice? A heat gun. Skillfully, I use it to melt the glue that attaches the housing, gently loosening its grip. As the heat subtly works its magic, the once stubborn bond begins to weaken. It’s a test of patience, allowing time for the adhesive to get weak.
And then, almost effortlessly, the housing starts to come off, separating from the headlight, making way for the transformation into blacked out headlights. A task that once seemed daunting now feels easily surmountable.
4. Remove The Lenses and Bulbs
When it comes to giving your vehicle a sleek, mysterious look, blacked out headlights are a popular choice. However, the process requires precision and an understanding of the delicate nature of the components involved. A crucial step is to remove the light lenses carefully from the headlights.
This is not just about aesthetics; it’s about maintaining the integrity of your lighting. Color stains and marks on the lenses are not merely unsightly; they can dim the brightness of your headlight bulbs, compromising your visibility at night.
The enemy of clarity and illumination is often inadvertent – paint. While it might seem like a harmless addition, paint significantly reduces the illumination capability of your headlights. It distorts the light, transforming a clear beam into something scattered and less effective.
Therefore, it’s essential to smoothly remove the lenses and shield them from any stain or streak of paint. It’s not just about removing the lenses; it’s about protecting them, to prevent any compromise to your vehicle’s lighting system.
From personal experience, taking the time to meticulously handle the lenses and bulbs pays off. The road ahead is not just about where you are going, but how clearly you can see it. Every scratch or stain on the lens can mean a missed detail on the road. So, treat your headlights with the care they deserve, and they will light your path reliably, every mile of the journey.
5. Cleaning and Sanding
The journey to achieving perfectly blacked out headlights begins with meticulous cleaning and sanding. The process starts with the careful disassembling of the headlight, where each component and piece must be thoroughly observed. It’s not just about removing the dirt; it’s about addressing the corrosion that silently lurks on the parts.
Sandpapers come into play here, not just to remove the decay but also to charge the surface for what’s next. They clear away not only the stubborn corrosion but also the previously painted layer, transforming a smooth surface into something rough. This roughness is not a flaw, but a canvas ready to stick properly to the new paint.
In my experience, the secret to a paint layer that lasts lies in how well you prepare the corroded object. Rubbing the sandpaper on the affected point is not just a stroke but a strategic move. It ensures that the layer you add doesn’t just sit on top, but firmly becomes a part of the headlight. So when you’re sanding, remember, you’re not just dismissing the old; you’re setting the stage for the new.
6. Roll Out The Masking Tape and Create Pattern
Crafting the perfect blacked out headlights is an art that involves not just precision in painting but also in preparation. Masking tape, known for its thin layered structure and adhesive characteristics less aggressive than regular ones, becomes your ally in this creative process. With its ability to leave no mark behind upon removal, it ensures your design remains unpainted and pristine. The application of masking tape, or painter’s tape as it’s also known, to specific areas not meant to be coated with paint is a step requiring a steady hand and a clear vision of the final design.
One can create intricate patterns and designs on the headlights, setting the stage for a custom look that stands out. The key, however, lies in patience. Once applied, this tape shouldn’t be removed until the paint has completely dried. Warning Note: this waiting period can stretch up to 12 hours. It’s a test of patience but a crucial one. Rushing this process can ruin the crisp edges of your design, turning precision into a smudged disappointment.
So, let the paints dry thoroughly, and then conveniently peel off the tape to reveal your masterpiece.
7. Apply The Spray Paint
Embarking on the journey to blacked out headlights, it’s pivotal to apply the spray paint with precision and care. Begin by filling the spray gun’s tank with your desired color of paint and spread it uniformly across the headlight to ensure a flawless finish. Yet, before you do, gear up in your safety dress. Gloves and face masks are essential to shield you from inhalation of any dangerous chemicals. Having masked the area and formed the patterns, your canvas is ready for its transformation.
Choosing a ventilated place is not just a choice, but a necessity, especially since the paint often contains VOCs (volatile organic compounds), which can be fatal and cause significant respiratory problems. Such a space ensures proper airflow, which effectively diffuses any toxic compounds, reducing their presence in your work area. As you apply the paint, it’s not just about transforming the headlight; it’s about doing it safely, allowing your craftsmanship to shine through without compromising health and safety.
8. Allow The Paint To Dry
After the precise task of applying the paint, it’s crucial to allow the paint to dry. It’s recommended to apply just two layers of paint; coating more can blur the light, hindering its ability to penetrate the dense layers. Patience is key: let the first layer dry completely before adding the second. Sunlight can be your ally in speeding up the drying process, with the scorching heat of the sun drying the paint more quickly. Alternatively, during winters, a heat gun or hair dryer can accomplish the task just as well.
When the paint is totally dry, it’s time to carefully remove the masking tape. Reassembling is more than just a task; it’s ensuring that every piece, every screwdriver or socket wrench turn, brings your vision back together. Attach all the components properly, and don’t forget to test the headlights to ensure they work correctly. The true test? A gentle touch on the painted object to check if it has dried up fully. This meticulous process ensures that your headlights are not just aesthetically pleasing but functional and safe.
How Much Does It Cost To Blackout Lights?
When delving into the realm of blacked out headlights, one of the primary considerations is the cost to blackout lights. Typically, for a headlight lens, you’re looking at a range between $95 and $175. This, of course, varies based on the car, specifically the shape and size of the lenses.
It’s not just about the material cost; sometimes, the coverage required may take longer than estimated, which could increase the expense. Similarly, achieving that perfect fit with a tail light tint job can set you back anywhere from $65 to $150 per lens.
Much like headlights, this too hinges on the specific vehicle and the characteristics of the tail lights. It’s a nuanced service, where the final price reflects not just the physical attributes of your vehicle but also the precision and customization of the work involved.
Check also: How Far Can You Drive on 0 Miles to Empty?
Conclusion
Embracing blacked out headlights can bestow your vehicle with a lethal and mysterious look, yet it’s essential to tread this path carefully, mindful of the law. Opt for tinting your lights minimally, ensuring your quest for aesthetics doesn’t compromise safety. Once the paint is set, the real art begins.
It’s time to put everything back together. With a screwdriver or socket wrench in hand, begin by referencing the exploded diagram to identify where each screw belongs. Attach all the components properly and ensure the headlights are working correctly by switching them on.
The final touch? A polish of the car with wax, revealing how great it looks, complemented by your new headlights. It’s not just about the tint; it’s about a complete, cohesive transformation that marries form and function, ensuring your ride turns heads for all the right reasons.
Frequently asked Questions
What is Black Out Headlights?
Black out headlights, often referred to as blackout driving lights, are a unique automotive feature, typically mounted on the driver’s side of the vehicle. You might spot them on the fender or grille, standing out from regular illumination options. These lights emit a diffused beam of white light, contrasting starkly with your conventional regular headlights.
Can You Black Out Your Car Headlights?
Venturing into the aesthetic of blacked out headlights does bring about its share of queries, primarily, can you black out your car headlights? The answer leans on the side of caution and compliance. Your lights must uphold their original colour – headlights retaining their white or yellow glow and rear lights their mandatory red.
What is a Blackout in Lighting?
In the realm of theatrical productions, a blackout in lighting plays a pivotal role, far removed from the concept of blacked out headlights. This technique, where all the lights go off, is used strategically to transition the audience seamlessly from one scene to another or between short works.
